Friday, October 17, 2014

October 2014 Shadow Box Club Layout

This month I was inspired by fall colors, Pathfinding paper packet in particular, and the Pathingfinding Workshop on the Go Cardmaking kit.

This layout is from the Imagine book. It is pattern “Monologue” which can be found on page 52-53.


I stamped the Olive cardstock using the bamboo stamp from Season of Thanks (D1604) with Olive ink. I stamped all of the leaves in Chocolate ink on Goldrush, Barn Red, Autumn Terracotta, and Glacier cardstock.


After adhering my base papers, I added some dimension with the burlap, acorns, title, and accessories.
Final of Left page of Monologue


Cutting out the leaves and acorns will allow layering.  The sequin and printed cork also add to the effect.

The title was influenced by the Pathfinding card kit with the same saying.  I thought it appropriate for the time of year without shouting out "Thanksgiving".

The burlap (discontinued) adds to the fall feel of the page.


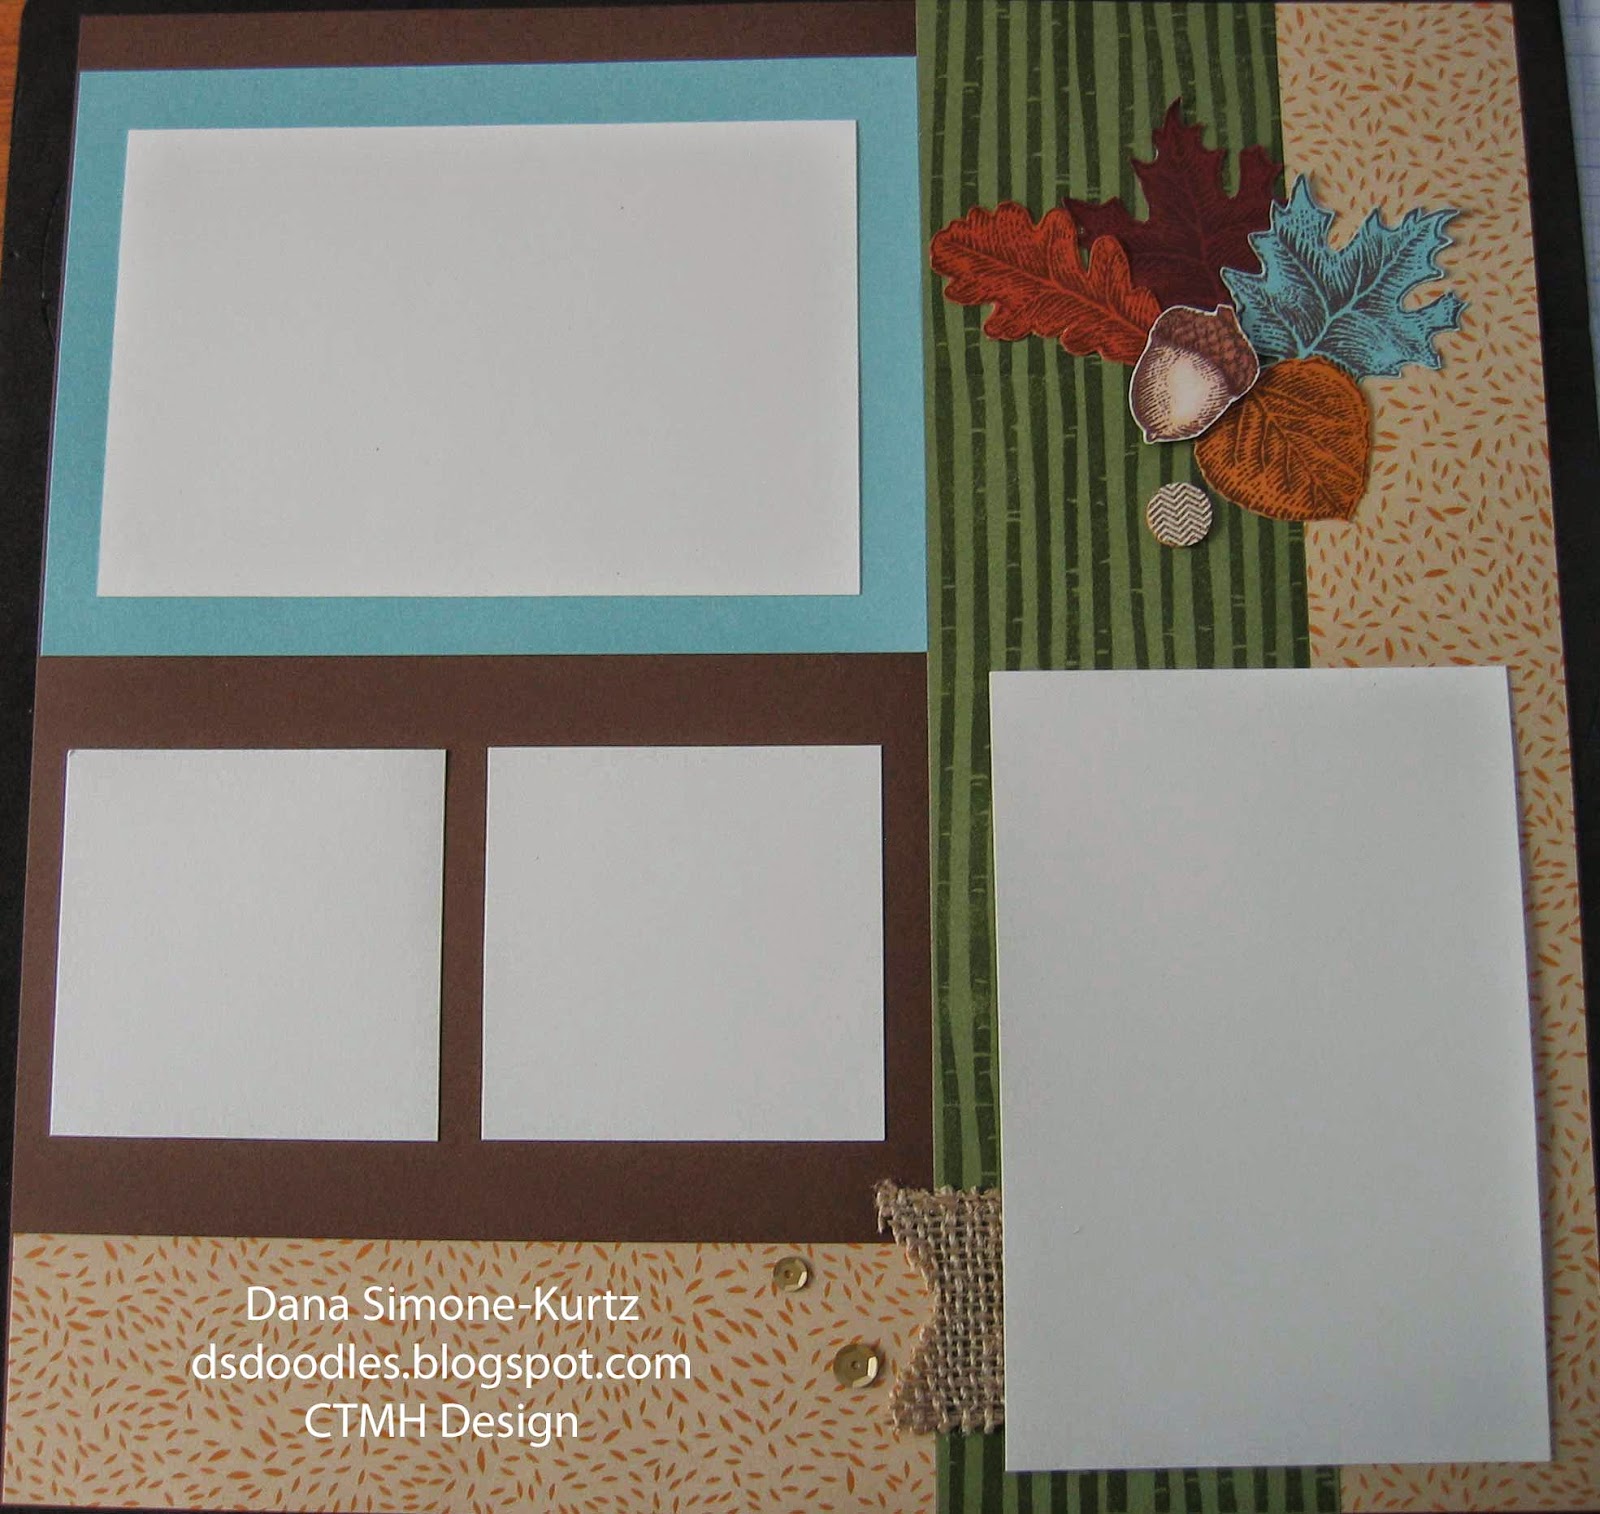
The white represents the 4" x 6" picture that would be placed there.


Final of Right page of Monologue
If you wanted to flip the papers over, they look good together as well.  I would recommend using lighter paper as the base though.  In fact, this kit almost came out with Champagne as the base.  I felt the leaves stand out more on this background, thus my completed project as shown. : )

Additional modifications you may consider... edge distress all of the paper with the edge distressor. That will add to the fall feel of the layout. You could sand under the title too.


The two large white papers represent 4" x 6" pictures, and the two small white papers are for the 3" x 3" pictures.


Some close ups.


Products used:
X7186B Pathfinding paper packet
X5770    Glacier Cardstock
X5637    Barn Red Cardstock
1243       Goldrush Cardstock
Z3012    Pathfinding Assortment
Z2012    Gold Assortment Sequins
D1604    Season of Thanks stamp set
C1504    Fall Harvest stamp set
Z2111    Chocolate Ink Pad
Z2137    Olive Ink Pad
Z2460    Pastel Pink ShinHan™ Touch Twin™ Marker (acorn base)
Z2445    Barely Beige ShinHan™ Touch Twin™ Marker (acorn base shading)
Z2456    Mahogany ShinHan™ Touch Twin™ Marker (acorn top)
Z2451    Clay ShinHan™ Touch Twin™ Marker (acorn top lines)
Z679       Liquid Glass
Z1836    Non-stick Micro-tip Scissors
Z1151    3-D Foam Tape
Burlap Ribbon (retired) – check the while supplies last supplies

Thursday, October 16, 2014

Did you know...

I now have a Facebook Page?  Come "like" me at facebook.com/dsdoodles.CTMH to follow what I'm doing.  I'll still be putting more detailed instructions here of those projects I think need more explanation.

Thanks!

Wednesday, October 15, 2014

BOO is Ideal for October

Here is a timely picture for October.  Thank you to Dawn Heuft who shared this Cricut file with me.  She used a purple glitter paper for the background whereas I used the green glitter paper (Z1847).  This banner features the Artiste Cricut Cartidge (Z1790)

I think I'll hang these outside on our door.  I'm not feeling very spooky this year.

The base is Whisper cardstock (X5929) that was run through my machine with the Dot embossing folder (Z1924). I ran all three pages through at once to save time.  The papers were then sanded (Z1294) so the dot pattern could really stand out.

The cobweb border can be found on page 76 of the Artiste booklet.  This key is in the 6th column and 5th row of the pad and is under the Accent 4, Shift key.

The word "BOO" is on page 77 just under the Shift key.  This is the 7th column, 5th row key of the pad.

The glitter paper and black accent paper can be cut using the Accent 3, Shift key (found on page 67 of the book), which is the 6th column, 4th row.

Finally, the white mat under the letters are from page 80, under the Accent 3, Shift key corresponding to the 10 column and 5th row key.

I raised the letter of the word with mounting tape.  You can't see it very well in the picture, but it does add some additional dimension.

If you want, you can add some spiders or skeleton to your scene.

Happy Haunting!

Monday, October 13, 2014

Getting Ready for Winter in October

I know it's a little early for the holidays.  In fact, I don't like to hear Christmas music until after Thanksgiving.  I don't want to cheat our other holidays of their lime-light.

However, sometimes I just have to break out the goodies early.  This month at Close to my Heart, the Stamp of the Month is a good one. 
Do you see all that red?  The red means there is a Cricut cartridge that goes with the stamp images!  In this case it's Art Philosophy (Z1686).  This stamp set is only available until the end of the month -- October 31, 2014.

Here's one example of using the stamp set with the pillow box (also found on Art Philosophy).
I used a background texture paper from the Snowhaven paper packet (X7188B), Glacier cardstock that comes in the paper packet, and Cranberry ink (Z2116) to create this pillow box.  I added some Silver Sequin Assortment (Z2013) as a finishing touch.  The bear is mounted with foam tape.

Want yours?  Go shop my website now.  You only have until the end of the month, so don't wait.  : )

Friday, August 1, 2014

August 2014 Card Workshop

With all of the excitement of the book, this month I want to highlight a little gem in the back of the Idea Book.  Basic colors were in the last two idea books, but this year, CTMH has expanded to include all of the colors!

This month we'll be working with the Whimsy Fundamental Assortment and one stamp set.  Here is a picture of most of the cards you'll be creating when you choose to come to my workshop this month.
I chose this paper because it has our 5 new colors.  I love the way they look!  Shown here, too, is the stamp set that we'll be using C1600 Happy Birds.

The dates for the workshop are Monday August 25th and Tuesday August 26th from 7 to 9pm.  The cost will be $15 and you'll make 6 cards.  If you come to the workshop and want the stamp set, let me know when you RSVP and I'll order it for you so you have it that night.  Please RSVP by August 13th (shipments are going to be a little slower due to high demand of the fabulous product in the Idea Book) if you are coming or want a kit.

Thursday, July 31, 2014

Annual Inspirations 2014 - 2015 Unvailed

Our new Idea Book will be available to order from TOMORROW!  The nice thing is this book will be your reference for a year.  Don't worry about getting bored, though, because there will two Seasonal Inspirations as well.


And the Annual Inspirations has gone interactive.  : )  Use your smart phone to scan QR codes throughout the book to see the latest and greatest.

For instance, see each of two kits when you're ready to become a consultant.  You can choose from the  card makers' or the scrapbookers' kit.  But getting product worth over $365 for only $99 is just the start.  You'll receive free online training, sneak peeks of new products, oodles of inspiration and technique instruction, and support for you to succeed in building your business or supporting your hobby/habit.  : )

Other QR codes will give you more information on items such as Workshops on the Go kits, the Cut Above kits, Base and Bling, and Studio J to name a few.

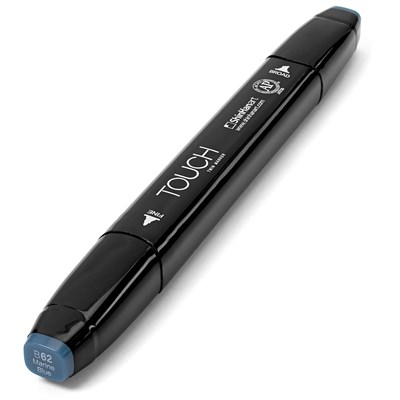
Here's the deal for you.  When you order the Annual Inspirations Book from my website any time during the month of August 2014.  I will send you a ShinHan Touch Twin Marker of your choice (a $5.95 value).  I will email you after you've ordered the Idea Book to get your selection.  You will love these alcohol-based markers for the dual tip, the feel in your hand, and the look on your paper. 


Just one of 24 color choices when you order a Annual Inspiration Book (just type that into the search box) online now through August 2014.
It's dual tipped marker makes coloring a breeze and gives you a lot of control.  I really like mine!

Sunday, July 20, 2014

2014 Bat Mitzvah Card

Yesterday my family went to our neighbor's Bat Mitzvah and had a wonderful time.  Our neighbors know how to throw a GREAT party!

I was inspired to make one of CTMH's gift holder card from the Artiste Cricut cartridge but needed to modify it for cash.  If you'd like to do the same, you'll need the Cricut Craft Room (for Expressions or earlier machine) or Cricut Design Space (for Explorer).  I chose the gift card holder found on page 59, dropped it on my canvas and stretched the image until the opening was long enough for cash.  I also, independently, stretched the width of the card to accommodate the height of the cash.  When it was done, the card measured about 8" by 3.5".

As you see, I stamped on the inside of the card.  By doing so adds a little more interest to the expanse of yellow.  The swirl stamp set used is D1482 Love Life.  It can be found on my website.  The front saying is from B1438 Banner Wishes.  It was stamped and cut into a banner shape and raised with foam tape.

Her favorite color is pink so I kept with that theme.  The card was cut from Buttercup cardstock and stamped with Creme Brulee (both colors are retiring at the end of July).  The gems are from the Base and Bling Pink Jewels collection (also retiring at the end of the month).  The large flower is from a long retired Just Blooms collection - it came white.  I sponged it with Cotton Candy and Pixie (a new color coming August 1, 2014).  Sponging it in two colors adds a little more depth to the flower.

I'm sure our neighbor will appreciate the homemade card.  I know I enjoyed making it, and will make this type of card again.  : )