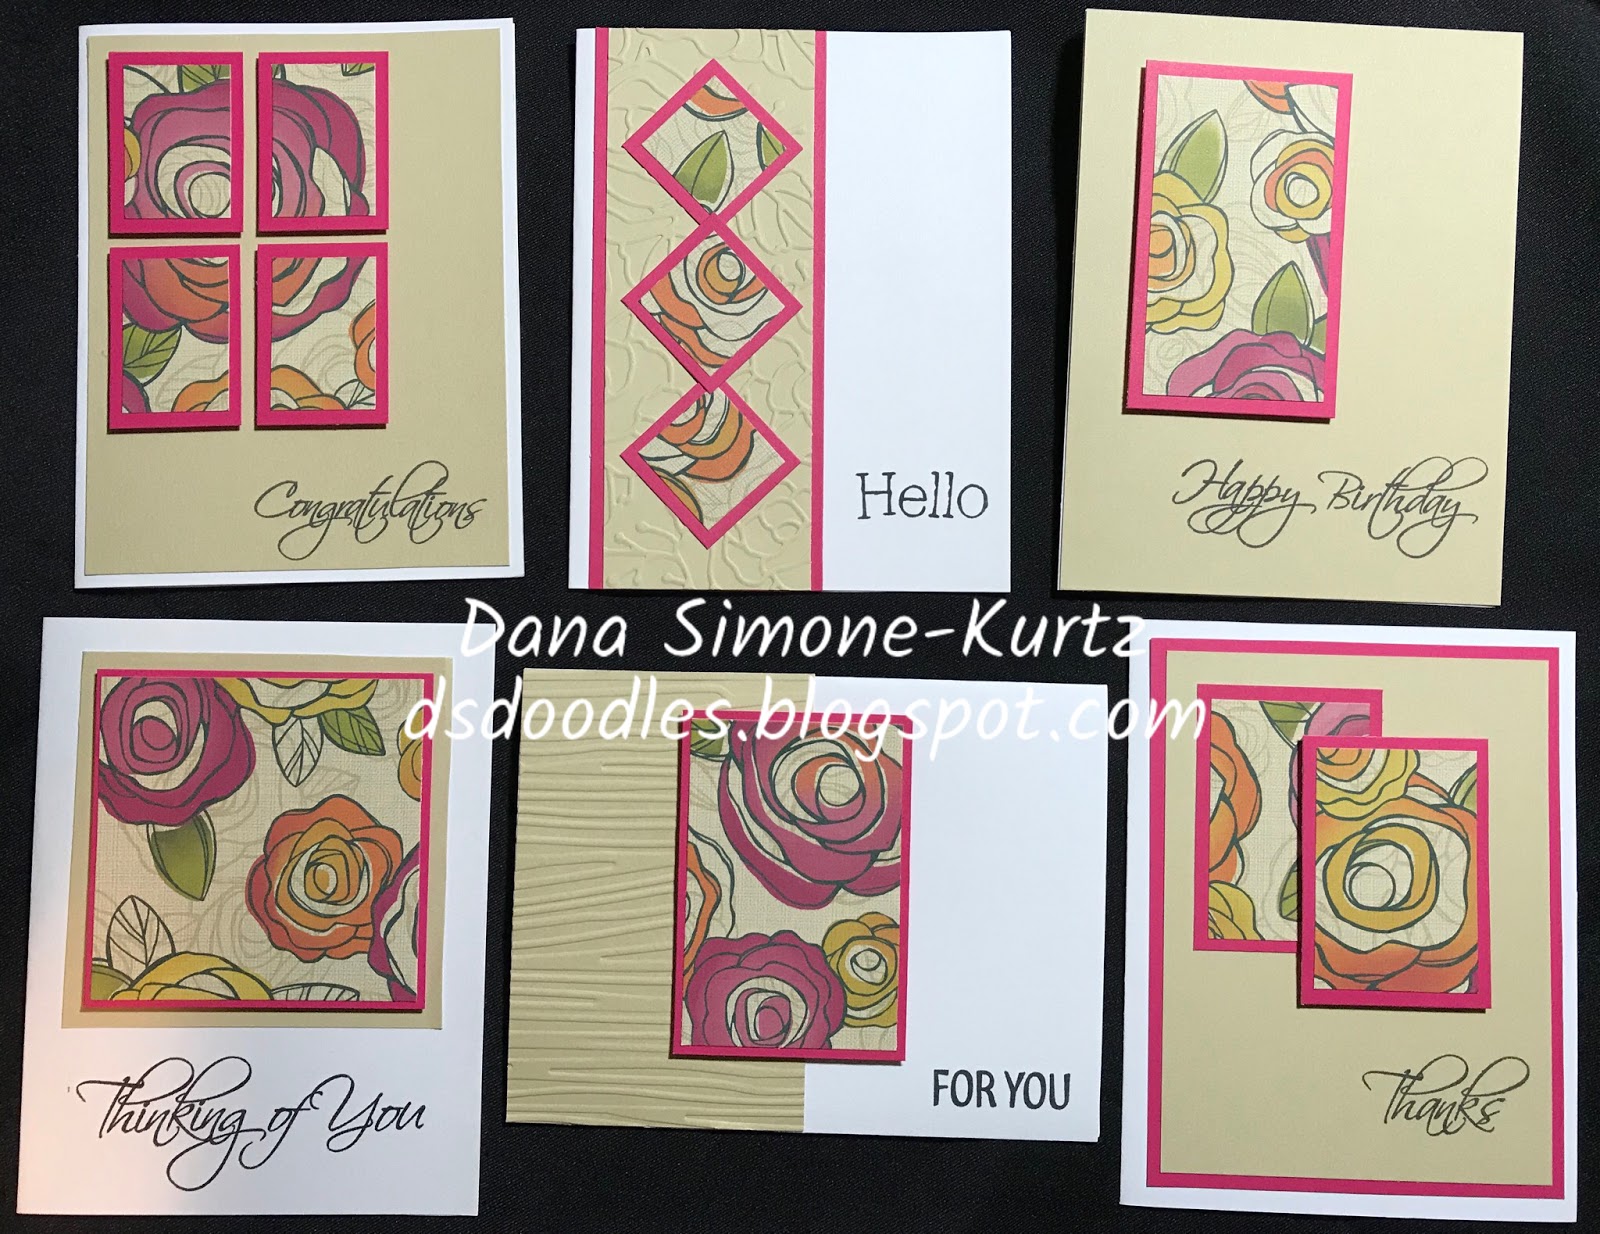
My second class of the spring quarter is a box set. "Thinking of you" is what is stamped on the box. We'll be making 4 cards that you'll be able to put into the box.
So come join me on Thursday May 23rd from 6:30 - 8:30 pm to make the set!
This class will be held at Abraxas High School in Poway (south of Target). Here's the link to sign up!
Hope to see you there!
Friday, April 5, 2019
Tuesday, April 2, 2019
Class at Poway Adult School - One Sheet Wonder
I really like it when my class submissions get selected. : ) Step one complete.
Step two: People to sign up to take the classes.
This first class will be offered on Tuesday May 7th from 6:30 to 8:30 pm. In class, we will be cutting the 6" x 6" background texture paper and then assembling the 6 cards you'll make in class. You'll go home with knowledge to make more at home!
The class is at Abraxas High School in Poway. Here is the link to sign up!
Monday, March 18, 2019
Spring and Summer Canvas
Since Spring is finally here, I thought I'd share with you my Spring and Summer canvas art. Each has a watercolor paint background. All the images were cut using the Flower Market Cricut Cartridge with lots of various colored cardstock. Both are 10" x 10", and will brighten any wall. : )
Thursday, January 24, 2019
January 2019 Slide Up Cardaholics' Card
Today I'd like to share with you my card for my Cardaholics exchange. It's called a pop up card, but I think it should be called a slide up card.
I made them with fun colors, although two families, because I couldn't decide which I liked better. The front two cards are in the envelope ready position. Then the middle part slides upward to create a self standing card. Thus "slide" rather than "pop". : )
The base of the card measures 4.25" x 11". You're going to score along the 11" side at 1", 2.75", 3.75", 5.5", 7.25", 8.25", and 10". The focal consists of several layers:
Cardstock layer: 2.75" x 5.5" - here it's Canary and Lemon
Focal mat layer: 2.5" x 5.25" (there's another one this size on the back for you to write a greeting and is cardstock) - here it's B&T and white cardstock (on the back)
Focal layer: 2.25" x 5" - here it's Sweet Leaf and Lilac
The front "celebrate" was stamped on B&T paper that measures 0.75" x 4"
On the 5.5" score line, you are going to want to cut out a slit from about 0.75" to 3.5" on either side of the score line. That's creating the space needed to have the focal slide through so it can stand.
Willow Card:
| Item # | Description |
| X6026 | Willow cardstock |
| X6008 | Lemon cardstock |
| X7240B | Something Fierce Paper Collection |
| Z2807 | Willow Ink |
| Z2812 | Raspberry Ink - second generation |
| Z6502 | Peach Ink - base of icing |
| Z6508 | Bluebird Ink - cupcake wrapper and candle |
| Z2808 | Lemon Ink - flame |
| Z1979 | Journaling Pen - around "celebrate" |
| Z3189 | White & Gold Ribbon |
| D1827 | Years of Sweetness stamp set |
| retired | Confetti Embossing Folder |
| retired | various ribbon |
Thistle Card:
| Item # | Description |
| X6024 | Thistle cardstock |
| X5998 | Canary cardstock |
| X7242B | I Heart Us Paper Collection |
| Z2840 | Thistle Ink |
| Z2812 | Raspberry Ink - second generation |
| Z6502 | Peach Ink - base of icing |
| Z2895 | Lagoon Ink - cupcake wrapper and candle |
| Z2808 | Lemon Ink - flame |
| Z2805 | Black Ink |
| D1827 | Years of Sweetness stamp set |
| retired | Confetti Embossing Folder |
| retired | various ribbon |
Monday, November 5, 2018
One Page Scrapbook
My upline, Kay Pekin, sent me this scrapbook last year. It was made from one 12" x 12" cardstock paper and several cut papers.
I liked it so much, in fact, that I recreated it and had other consultants make samples of it. I used what was updated paper, but it's easy enough for you to use any paper you have.
Updated version (but since retired):
As you can see, I didn't want to use ribbon - making 15 kits, it would be too much. Instead, I used hook and loop to make a closure from the back. If I were making this a specific themed book, I'd add the theme or person it was about under the flap. Then it would be a sweet surprise upon opening!
This is opened up completely. The bottom three sections could be used for journaling or some smaller pictures. I went with two background and texture papers, but you can do more if you'd like.
You need a total of:
10 B&T papers each measuring 3.25" x 4.25"
10 cardstock each measuring 3.5" x 4.5"
6 cardstock each measuring 3.5" x 2"
1 white cardstock (for front) measuring 3.5" x 4.5"
Band cardstock measuring 1" x 5.5"
Band B&T paper measuring 0.75" x 5.5"
This is the view with the six flaps folded into the middle section. The right side is folded into the middle, followed by the left side, and you see the front.
Let's score the 12" x 12" paper...
On one side, you'll score at 3 3/4", 4", 7 7/8", and 8 1/8".
Rotate the paper 90 degrees, and score at 2 3/8" and 7 1/4".
I liked it so much, in fact, that I recreated it and had other consultants make samples of it. I used what was updated paper, but it's easy enough for you to use any paper you have.
Updated version (but since retired):
As you can see, I didn't want to use ribbon - making 15 kits, it would be too much. Instead, I used hook and loop to make a closure from the back. If I were making this a specific themed book, I'd add the theme or person it was about under the flap. Then it would be a sweet surprise upon opening!
Let me show you a little more of the meat...
This is opened up completely. The bottom three sections could be used for journaling or some smaller pictures. I went with two background and texture papers, but you can do more if you'd like.
You need a total of:
10 B&T papers each measuring 3.25" x 4.25"
10 cardstock each measuring 3.5" x 4.5"
6 cardstock each measuring 3.5" x 2"
1 white cardstock (for front) measuring 3.5" x 4.5"
Band cardstock measuring 1" x 5.5"
Band B&T paper measuring 0.75" x 5.5"
This is the view with the six flaps folded into the middle section. The right side is folded into the middle, followed by the left side, and you see the front.
Let's score the 12" x 12" paper...
On one side, you'll score at 3 3/4", 4", 7 7/8", and 8 1/8".
Rotate the paper 90 degrees, and score at 2 3/8" and 7 1/4".
Fold on all score lines. Cut out the small sections (as seen above).
Once you've adhered all the paper to the book - NOTE: don't adhere the last cardstock piece to the back yet! This will cover the band end - you're ready to add the band. Adhere the B&T piece to the cardstock. Add the Hook and Loop Dots (Z1805) to the one end of the band and the front of the book. Finger fold the band around the edge of the book. Adhere the back of the band to the back of the book. Then adhere the cardstock over the band giving the back a clean look.
Decorate the front of your book. Here, I used the Stitched Oval (1.75" size) thin cut (Z4187), cut flowers, and sequins.
If you have gifts to give, this is an easy one to knock out several at a time. They're appreciated too!
Tuesday, October 16, 2018
National Boss's Day Gift
Today, October 16, 2018 was National Boss's Day. I made these for my boss. Yes, I'm a kiss up. : )
I cut the words from vinyl after typing them into Design Space, and put them on the clipboards. I covered the tops of the pad of paper with B&T paper. Even though the papers cover the quotes, it's fun to take the pads off and be inspired.
Voila! Instant gifts!
I cut the words from vinyl after typing them into Design Space, and put them on the clipboards. I covered the tops of the pad of paper with B&T paper. Even though the papers cover the quotes, it's fun to take the pads off and be inspired.
Voila! Instant gifts!
Monday, October 15, 2018
Modern Wedding Card
This month's challenge was to make a wedding card or baby shower card. I went to Pinterest for inspiration and found it!
The card on Pinterest was an all white card with the "&" in rainbow colors.
I loved the way the card was constructed, clearly, because I modified it. : )
On Design Space I sized the square I wanted. Next, I added the "Mr", "&", and "Mrs" to the system. I played around with the font and sizes until I liked the look within the square. In order for the "Mr" to get cut out of the square, the square and the "Mr" need to be attached (with "Mr" where you want it within the square). "Mrs" and "&" are two separate colors so they each get their own mat for cutting.
Mrs is cut from White Glitter Paper. The Ampersand (&) was cut from the fundamental basics (retired).
I cut the Blush Satin Ribbon (retired) only long enough to wrap by about 1/2" on each side (I don't want to waste ribbon where you don't see) and taped the ends to the back of the Charcoal square. A smaller length of ribbon was tied around the taped ribbon to create the knot.
Ampersand was glued directly to the Charcoal cardstock. Mrs. received thin 3D foam tape (those non stick micro-tiped scissors - can't say enough good about them!). Mr. Square was also raised with thin 3D foam tape. But before Mr. Square was adhered to the base card, Black cardstock was glued to the base so that "Mr" would be backed in black.
Modern and Classy!
Subscribe to:
Posts (Atom)